Behind the Scenes: How We Create Texture
Creating texture in design is an art that brings life and depth to a flat surface. Whether in digital design, architecture, product design, or even fashion, texture plays a pivotal role in how we experience objects and spaces. But what exactly goes into creating these intricate details that make a design feel real, tactile, and engaging? Let’s take you behind the scenes of the process of creating texture, breaking down the steps and technologies involved in bringing these designs to life.

The Importance of Texture in Design
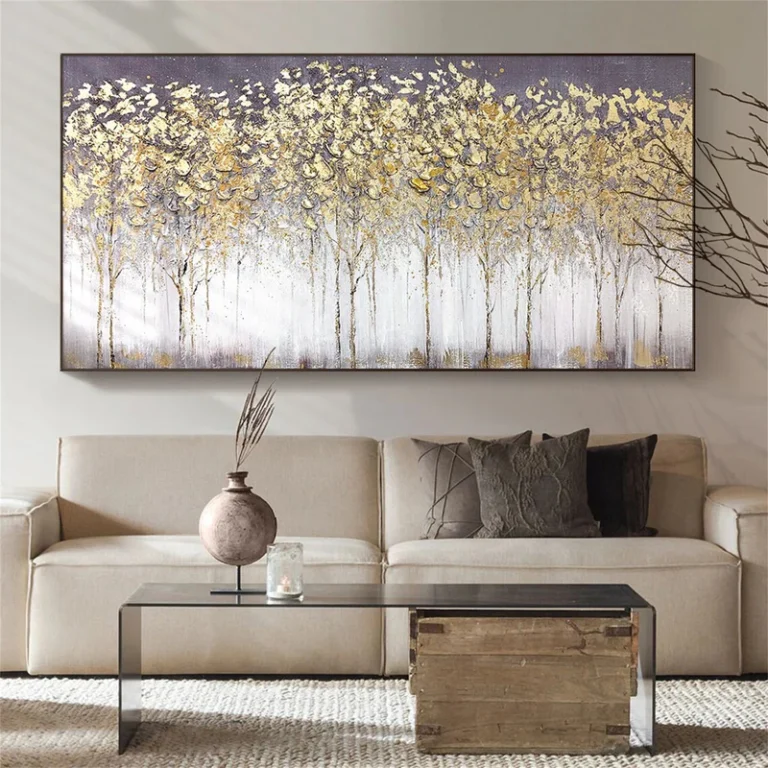
At its core, texture refers to the visual or tactile quality of a surface. It can be physical, like the roughness of a brick wall, or visual, like the appearance of smooth glass. Designers and artists use texture to convey emotion, influence user experience, and create a sense of realism. It helps to break the monotony of flat, two-dimensional designs by adding interest and complexity. In digital art, texture enhances realism by mimicking real-world surfaces like fabric, wood, metal, or stone.
Step 1: Understanding the Concept and Purpose
Before diving into the creation process, designers must first understand the concept of the texture and its intended purpose. This stage involves:
- Conceptualization: What kind of feeling should the texture evoke? Is it for a luxurious experience, a gritty, raw aesthetic, or something smooth and polished?
- Target Audience: Who will be interacting with the design? Different textures can invoke different responses depending on the context in which they are experienced.
- Functionality: Does the texture serve a practical purpose, such as providing friction for a product, or is it purely for visual appeal?
For example, in architectural design, textures are used to influence how people feel in a space. A polished marble floor creates an elegant and sophisticated feel, while rough stone can evoke a sense of ruggedness.
Step 2: Gathering Reference Materials
Once the concept is clear, the next step involves gathering references. This could be photographs, real-world samples, or digital assets. In the case of digital textures, artists often rely on:
- High-Resolution Photos: Photographs of real-world materials such as wood, concrete, fabric, or metals are essential for creating realistic textures.
- Scans: For more detailed textures, 3D scanning of real-world objects is becoming increasingly popular. This allows designers to capture every detail of the material’s surface, from its bumps and grooves to the way light interacts with it.
- Material Libraries: Many design tools and programs come with extensive texture libraries. These libraries provide base textures that can be modified and customized to fit the specific needs of the project.
Step 3: Creating the Texture
With the concept and references in hand, it’s time to start creating the texture. This process can vary greatly depending on the medium:
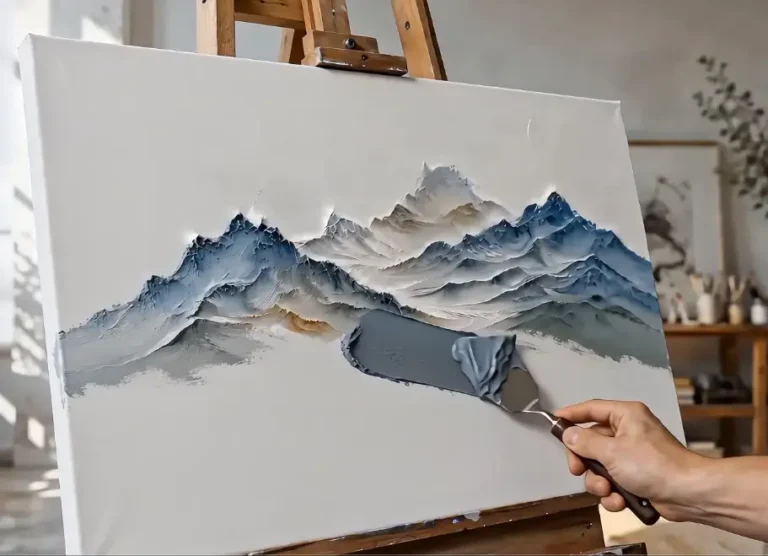
- Traditional Media: Artists may start with hand-drawn textures or use physical materials such as ink, paint, or fabric to create the desired texture.
- Digital Design: In digital design, software like Photoshop, Blender, or Substance Painter is used to manipulate the reference materials. Key techniques include:
- Layering: Combining multiple textures and layers to create depth.
- Noise and Grain: Adding noise to simulate the natural imperfections found in real-world surfaces.
- Bump Mapping and Displacement Mapping: These techniques create the illusion of depth on a flat surface by altering how light interacts with the texture.
The key is attention to detail. For instance, when creating a wood texture, not only do you want to replicate the grain but also capture how light interacts with it, including the natural shine or matte finish.
Step 4: Refining the Texture
Once the basic texture is created, it’s time to refine it. This stage involves making adjustments to ensure the texture looks authentic and fits seamlessly into the overall design. Refining includes:
- Adjusting Color: Changing the hue, saturation, or brightness to make the texture blend in with the surrounding design elements.
- Scaling and Tiling: Textures often need to be adjusted in size to fit the proportions of the object or surface they are applied to. Tiling helps avoid repetitive patterns that make the texture look artificial.
- Testing in Context: Placing the texture in the final design context—whether that’s a 3D model, a UI interface, or a physical product—is essential to assess how it interacts with light, shadow, and other elements.
Step 5: Finalizing and Exporting
Once the texture is refined and perfected, it is ready for final export. For digital designs, this might involve saving the texture in multiple formats (e.g., PNG, JPEG, TIFF) depending on the medium it’s being used for. For 3D models, textures need to be baked into the model, so they appear correctly in every lighting condition.
For physical products, textures might need to be tested with actual materials, ensuring that the final product matches the visual design. Texture sampling may be required to check for consistency in color, feel, and overall finish.

FAQ: Common Questions About Texture Creation
Q1: What software is commonly used for creating digital textures?
- Common software includes Adobe Photoshop, Substance Painter, Blender, and ZBrush. These tools allow designers to create and refine textures in a variety of ways, including painting directly on 3D models and using material libraries.
Q2: How do you make sure textures look realistic?
- Realism in textures comes from understanding how light interacts with materials in the real world. Techniques like bump mapping, normal mapping, and adding imperfections (such as scratches or dirt) can enhance realism. High-quality reference photos and 3D scanning also help in capturing intricate details.
Q3: Can textures be used for both visual and tactile purposes?
- Yes! While textures in digital design are usually visual, physical products often use textures for both appearance and tactile feedback. For example, a product like a smartphone may use textured materials for grip, while the visual texture on the screen adds to the design’s appeal.
Q4: How do you avoid repetitive patterns in textures?
- When creating textures, it’s important to ensure they don’t repeat in a way that feels unnatural. Using randomization techniques, such as noise patterns or adjusting the scale and orientation of texture layers, helps to avoid obvious tiling effects.
Q5: What’s the difference between a bump map and a displacement map?
- A bump map is a grayscale image that alters how light interacts with a surface, giving the illusion of depth. A displacement map actually alters the surface geometry of the model, pushing or pulling the surface based on the map’s values. Displacement maps are typically more resource-intensive but produce more realistic results.
Conclusion
Creating texture is a meticulous process that requires creativity, technical skill, and a deep understanding of materials and light. Whether you are working on a physical product or a digital scene, texture is key to bringing a design to life. By combining art with technology, designers can craft surfaces that not only look good but also feel authentic, whether they are seen in a video game, a piece of furniture, or a website interface.
The next time you look at a beautifully crafted design, take a moment to appreciate the textures that make it unique—and remember the intricate process that went into creating them.